Once your concrete is set, use a large floating device called a bull float to help the gravel-free concrete rise to the surface and smooth away ridges with magnesium hand floats.
Subbase
An effective concrete slab requires a firm sub-base that will prevent frost damage and support it fully. A gravel bed that measures between 4-6 inches thick should do just the trick, with proper raking and compacting as part of this task. A plate compactor could come in handy here too!
Sloping the shed concrete floor correctly is key to drainage and avoiding pools or puddles of water in your shed, so ensure a gradual slope. A slight crown is acceptable as long as its slope remains consistent throughout.
Form boards are essential components of a successful shed concrete slab installation project, as they must be constructed according to specific dimensions and securely braced so as not to bow outward as wet concrete is poured onto them. While readily available at hardware and home improvement stores, DIYers may lack the skills needed for proper form board usage – one wrong installation can ruin an otherwise great concrete project and even professional tools can’t make up for improper technique!
Forms
If the slab will bear loads, footers must also be installed around its edges for extra support and to protect from frost damage. Footers provide extra strength that help protect concrete against shifting during cold weather temperatures while helping prevent it from cracking under pressure.
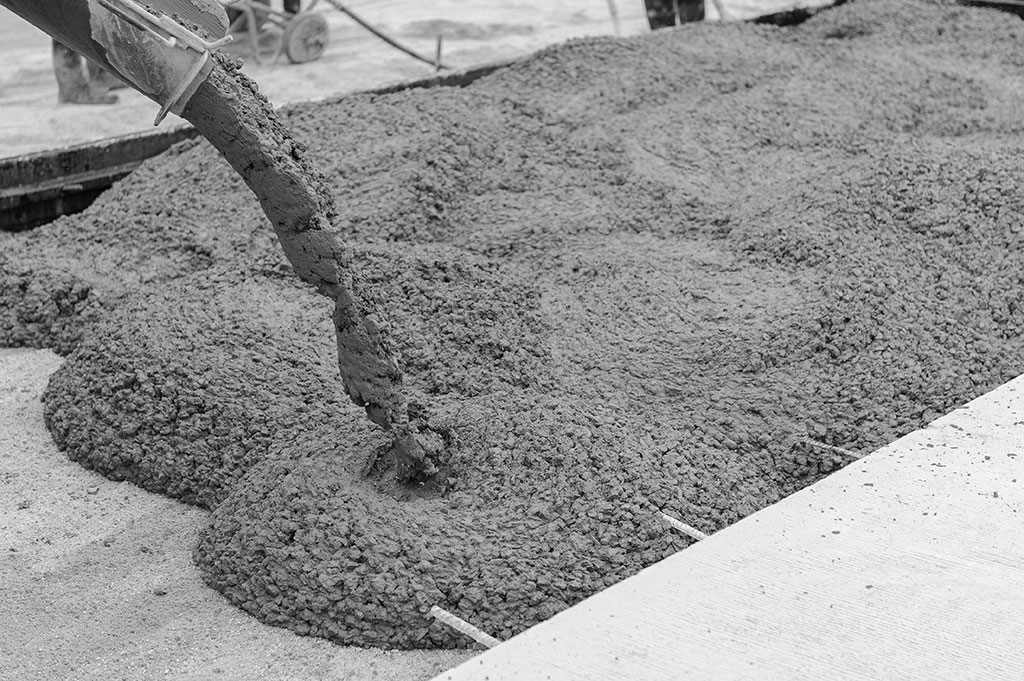
A concrete slabs Melbourne is an extremely versatile and resilient project suitable for shed foundations, front porches and backyard patios alike. To ensure its strength and resilience, make sure a strong base is established before pouring begins.
Once you’ve prepared and set up the forms, it’s time to pour concrete. Do it quickly as it sets fast. Be sure to wear safety goggles and gloves; concrete dust can be harmful to both eyes and skin.
After pouring, use a screed board to flatten its surface, helping ensure it remains even and making finishing simpler later on. Bull floats may also be useful for smoothing ridged areas before using jointing trowels at 150cm intervals to add control joints that prevent random cracking as the concrete dries and contracts over time.
Concrete
Concrete for small slabs is not cheap – an average mix will run you approximately $80 per cubic yard. To save money and time when pouring a small slab, opt for cheaper concrete mixes with reduced amounts of water added; or increase thickness for increased load-carrying capacity such as tool sheds by increasing thickness. Since form building takes the most time during a slab pour, plan at least two days for this task alone.
As soon as your concrete has set slightly (this depends on mix and weather conditions), use a straight 2×4 to level its surface – this process is known as screeding and ensures a flat surface, as well as eliminating any wet slurry trapped within it. Tamp down lightly using a tamper for further compacting to form a harder surface that resists random cracking.
Finishing
Once the concrete has set and set properly, light foot traffic may begin three to four days post placement; after which it can be towed or driven over as necessary. Finally, protective sealers may be added after curing has taken place to help protect it against stains.
As soon as the concrete has set, use either a darby/hand float for smaller projects, or a bull float for larger slabs to achieve a slightly smoother finish by floating. This helps level ridges, fill voids and embed aggregate in the mix more tightly before proceeding further. Let any excess water known as “bleed water” evaporate before proceeding with further work.
Once all bleed water has evaporated, use a straight 2×4 (screed board) to level the concrete surface. Make multiple passes until a flat and evenly filled area has been achieved. Afterward, use an edging tool for neat, rounded edges along its perimeter.